


CGM Warm-Up and Early Readings: Why Your First Numbers Can Look Off

If you have just started using a continuous glucose monitor (CGM), the first day or two can be unsettling. The numbers on screen do not always match what you expect, and sometimes they do not match a finger-prick either.
There is usually more than one reason for this. The sensor needs time to settle in your tissue, your body needs time to adapt to something newly placed under the skin, and lifestyle may also affect the readings. Occasionally a sensor really is faulty, and this article covers when to get in touch with your customer support.
Below is what actually happens during the CGM warm-up period, why early readings can look off, and what to do about it.
What Is a CGM Warm-Up Period?
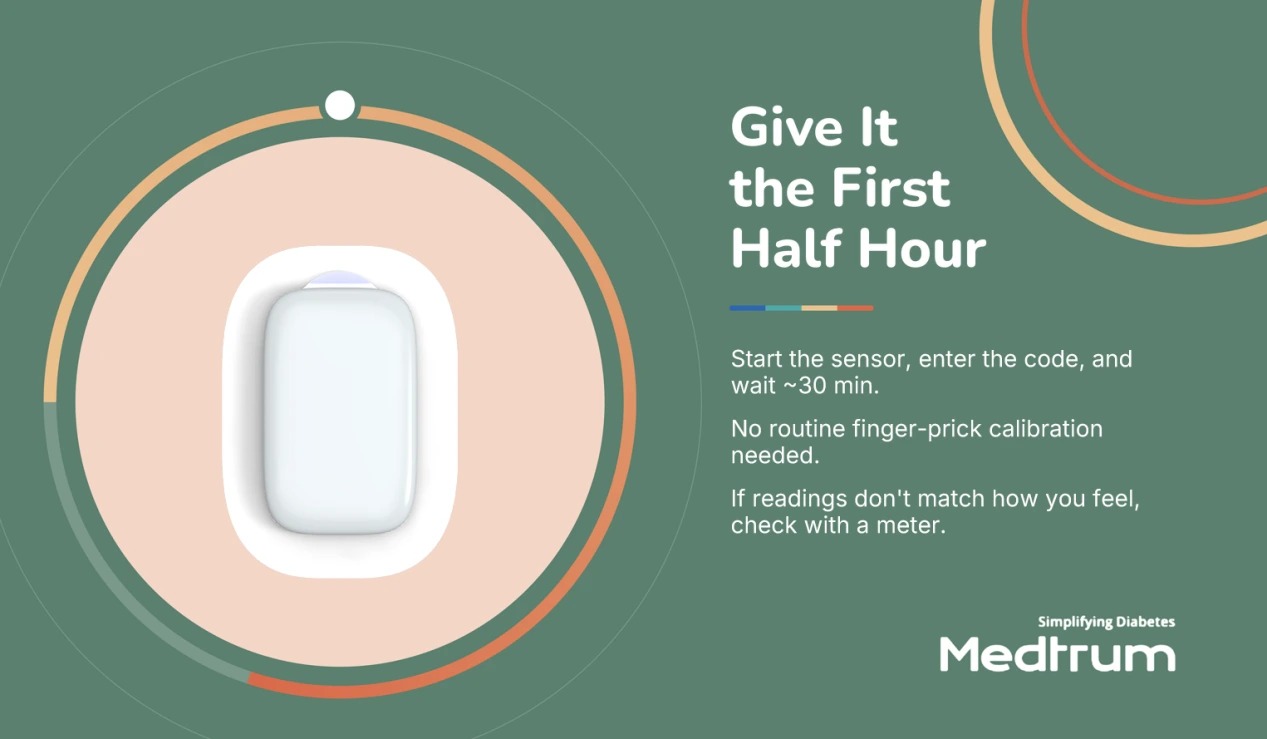
The warm-up period is the time between inserting the sensor and the device starting to show glucose readings. Most systems on the market today take somewhere between 30 minutes and 2 hours [1].
The end of that countdown doesn't mean the readings have fully settled. How quickly a sensor settles varies from person to person, because it depends partly on how your own body reacts to it.
Why Can Your First Readings Look Off?

If your readings look inaccurate in the first day or two, three things are usually involved: your body's response to the sensor, the sensor's own settling process, and a specific phenomenon called "compression lows".
How Your Body Responds to a New Sensor
Putting a sensor under the skin causes a small amount of local injury, and your body starts healing it straight away. The tissue around the site becomes mildly inflamed, and immune cells arrive to deal with something new sitting under the skin.
That reaction changes the conditions the sensor is working in. A CGM reads glucose in the interstitial fluid immediately around it, and while the area is still reacting to the insertion, that fluid isn't quite the same as it is in undisturbed tissue elsewhere. There are more immune cells in the way, so glucose has a slightly more crowded space to cross before it reaches the sensor. Research on tissue taken from around worn sensors found that people with more immune cells around their sensor got less accurate readings overall [2].
Your body keeps responding to the sensor for as long as you wear it, but the sharpest part of that reaction passes after the first day or so, and conditions around the sensor become steadier. That's why early readings are often very unsettled, and in most cases this is a normal part of a sensor settling-in period.
How the Sensor Signal Settles In
Your CGM sensor under your skin runs a chemical reaction that creates a tiny electrical current, and that current rises and falls along with your glucose. Software turns the current into the number you see. If you want the full picture of the parts involved, we've covered how a CGM works separately.
The catch is that the relationship between current and glucose isn’t fixed from the moment the sensor goes in. When a sensor first goes in, it needs time to adjust to its new surroundings. Its surface changes as it settles into your tissue, and until it does, the sensor’s response to glucose shifts a little [3]. Correcting for that drift is one of the main jobs the software does before it shows you a number [3].
This is the device side of the picture. The body’s reaction described above happens at the same time, and the two overlapping is the main reason the first day’s readings are the least settled.
Compression Lows on Your CGM: Not a Sensor Fault
One common cause of an odd reading is pressure on the CGM sensor site. If you lie on your sensor, your body weight presses on that patch of skin and reduces the blood flow through it. Less blood reaching the tissue means less glucose reaching the sensor, so it reports a false low that doesn't match your actual blood glucose. This is a compression low. It has been studied directly: when researchers filmed people sleeping and matched their positions against their sensor readings, the odd readings lined up with the times they were lying on the sensor, and they were usually sudden drops [4]. The reading typically climbs back to normal once you roll off the site.
The sensor isn't malfunctioning when this happens. The reading is low because less glucose is temporarily reaching that patch of tissue, and it recovers once the pressure is gone. Compression lows can occur at any point during wear, so one that happens on your first night isn't a sign that the sensor was faulty from the start.
What to Do (and Not to Do) With Early Readings

Check readings that don’t match how you feel with a finger-prick, look at the trend rather than any single reading, and leave CGM calibration alone unless your system asks for it.
Do: Use Finger-Prick Checks for Important Decisions
If a reading does not match how you feel, check it with a blood glucose meter. If you have symptoms of a high or a low, manage them according to the plan agreed with your diabetes team, and follow that plan for any change to insulin doses.
This does not mean early readings are useless. They still show you which way your glucose is heading. While you are still learning how this CGM sensor behaves, a finger-prick gives you an additional reference point.
Don't: Overreact to Every "Off" Reading
It is tempting to treat every unexpected number, either with extra insulin or with fast-acting carbohydrate. Look at the trend rather than a single reading. An unexpected number in the first day or two may reflect the sensor settling in rather than a real change in your glucose. However, that doesn’t mean ignoring it: real highs and lows still need treating according to your plan.
Don't: Calibrate Too Early or Too Often (If Your System Requires It)
For systems that use manual CGM calibration, when you calibrate matters. In a study on earlier-generation sensors, those calibrated before meals were more accurate than those calibrated after meals [5]. The reason comes down to the delay between blood and interstitial fluid, explained in the next section.
In practice, calibrate when your glucose is steady, such as when fasting, before a meal or before bed. Avoid calibrating within an hour of eating, taking rapid-acting insulin or exercising. Wash and dry your hands thoroughly before taking the blood sample. And if you think a reading is a compression low, don't calibrate against it. Change position so you’re no longer lying on the sensor, and wait for the reading to recover. Your device's instructions for use take precedence over any general guidance here.
If your system is factory calibrated, none of this applies to you. Factory CGM calibration means the relationship between sensor signal and glucose is characterised during manufacturing and built into the algorithm, including compensation for the sensitivity changes described earlier. With Medtrum’s TouchCare Nano CGM, you enter the sensor code when starting a new sensor. After that, no routine finger-prick calibration is needed in daily use, with manual calibration still available if you want to adjust readings against a finger-prick.
CGM vs Finger-Prick: Why the Two Numbers Don’t Always Match

A CGM measures glucose in interstitial fluid, the fluid around your cells, rather than in blood. Glucose has to move out of the capillaries into that fluid first. Studies that measured this step directly, in people resting and fasted overnight, put it at roughly 5 to 10 minutes [6, 7]. Add the sensor's own response time and the processing the software does, and the CGM lag time you notice on screen is somewhere around 5 to 15 minutes, at the longer end when your glucose is rising or falling quickly [8].
Software can compensate for part of this delay, but some usually remains, typically. It is not a warm-up phenomenon, and it does not go away after a few days.
This is also why a CGM does not replace a blood glucose meter (BGM) entirely. It is worth keeping a meter and strips available. If a reading doesn't match how you feel, a finger-prick is what settles it. And many countries have rules, for example, around driving, that require a blood glucose check in specific circumstances.
When to Trust Your CGM Readings
Four practical checks on CGM accuracy:
• The warm-up timer has finished. Before that, the device either shows nothing or tells you the data is not reliable.
• The readings make sense given what you’ve done, such as rising after a meal. Exercise can move glucose either way depending on its type and intensity, which we’ve covered in our guide to CGM.
• The gap between CGM and finger-prick sits inside the expected range. Accuracy isn't judged by whether the two numbers match, but by how close they are [9]. One international working group puts the limit at ±20%, which is a gap that is unlikely to lead you into a harmful decision [10].
• Readings are not persistently off. If your CGM sits well outside that range in the same direction for hours, or is still clearly wrong on day three, get in touch with your customer support.
A note on MARD
CGM accuracy studies usually report MARD, the mean absolute relative difference between sensor readings and a reference measurement. Lower is better, and 10 per cent is the figure usually treated as the dividing line: modelling work found that below that level, using sensor readings for insulin dosing decisions was workable, while above it the risk of going too high or too low rose sharply [11].
MARD is an average across tens of thousands of paired readings, which makes it useful for describing how a product performs overall and useless for judging the single number in front of you right now. That is what the 20 per cent check above is for. MARD also reflects how a study was designed and run, not just how good the sensor is ― the same CGM system has been reported with MARD values differing by as much as 10 percentage points across different studies, so comparing figures between studies is less meaningful than it looks [10, 12].
Living With a CGM, Without the Guesswork
The first day or two with a new sensor asks for a bit of patience. After the settling-in period, a CGM becomes something you glance at rather than something you have to question.
Medtrum TouchCare Nano CGM is designed to keep that early friction low: a 30-minute warm-up, factory-calibrated with optional manual calibration, a reading every two minutes, up to 14 days of wear, and a transmitter you recharge and reuse while replacing only the sensor.
Contact Us
References
FAQ:
Why is my CGM reading lower or higher than my finger-prick?
Two common reasons. Most often it’s timing. A CGM measures interstitial fluid, which trails blood glucose by a few minutes [8]. When your glucose is rising quickly, after a meal, for example, the sensor is still catching up and reads lower than a finger-prick. When it’s falling quickly, the opposite happens, and the sensor reads higher [8].
A low reading can also be a compression low. If you have been lying on the sensor, pressure on that patch of skin can push the reading down until you change position [4].
How much difference between a CGM and a finger-prick is normal?
More than most people assume. A finger-prick (also called a finger stick) measures blood, while a CGM measures interstitial fluid, so the two often differ. Accuracy is judged by how close they are, and one international working group puts the limit at ±20% [10]. Your meter has its own margin of error too.
Want to learn more about diabetes management and travel? Visit our FAQ page for more answers.
